Static Discharge
I have a work space in Hamilton's excellent and eclectic Cotton Factory where I do my more messy work, making anatomical models and the like. I do a lot of mold making for parts, going from soft modelling clay to silicone, rubber or rigid part. I'm in a space with the artists: talented painters, quilters, a fantastic book binder etc. Across the hall is a video production company and a landscape architecture firm. As I write this, there's a Netflix series filming out in behind the old factory. A few weeks ago Joe and Amin, a couple of young engineers, came in looking for help making molds for a thing they were working on. One of my studio mates pointed them in my direction. "You want to talk to that guy!" So they started to pick my brain to see what I knew and what I could do.
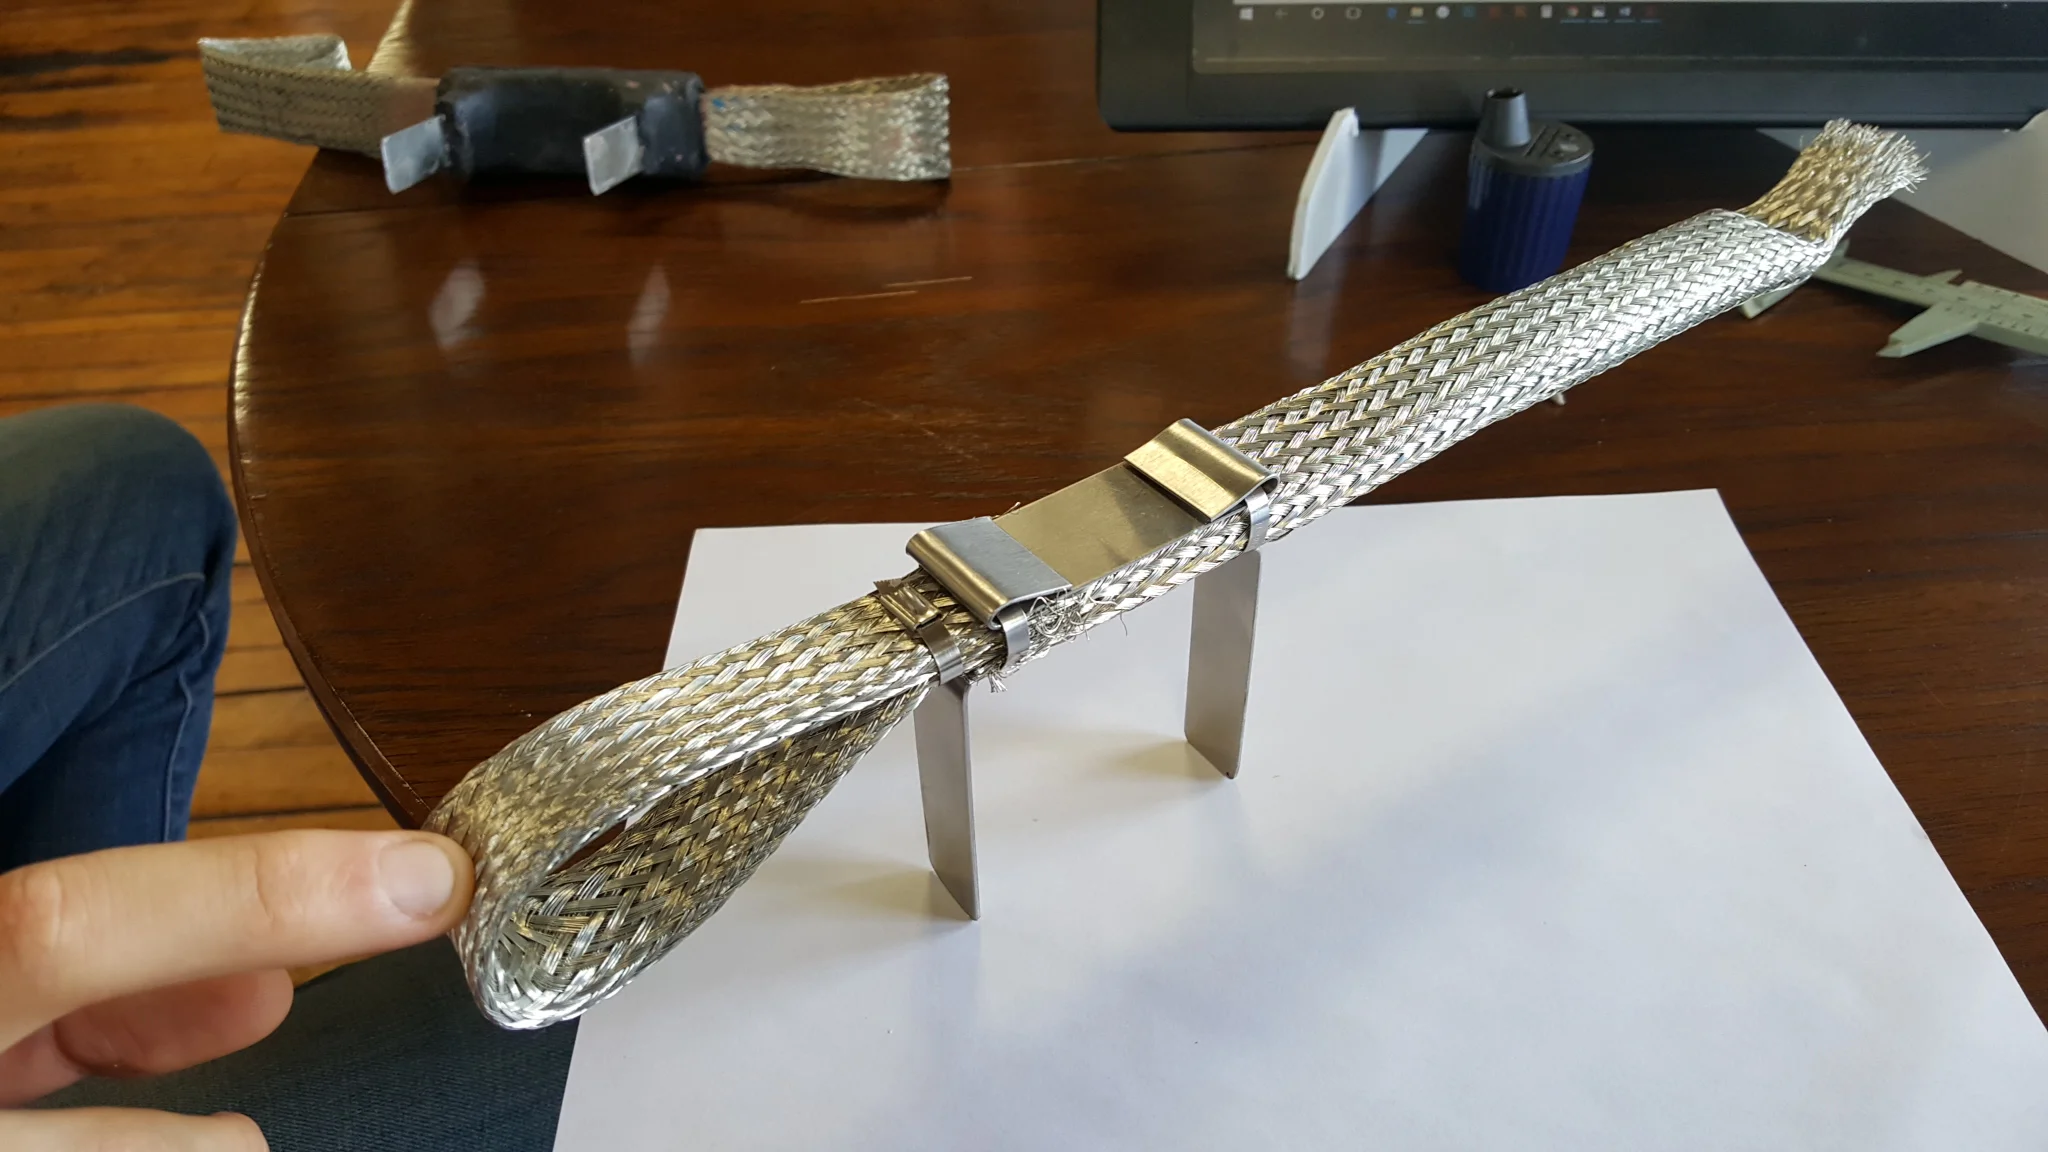
The guts of the discharge tail without over-molding. One end contacts the blade while it rotates and adjusts pitch, the tail end contacts the nacelle and turbine housing while the whole turbine turns. According to Amin, that tail will travel some 50,000km a year and will slowly wear. Things you never think of.
Joe and Amin were developing a better component for wind turbines. It turns out that the blades of turbines generate static as they move through the air. I would have thought they discharged that static with little tails like you see on the trailing edge of aircraft wings, but what do I know. They need to discharge through the nacelle to the ground and, they told me, the current components that get installed between blade and nacelle are pretty clunky things, bodged together with hose clamps, electrical tape and heat shrink tubing. They could do better, they just needed a bit of help making a pattern from which they would over-mold their assembly and make a tidy, professional looking component. Could I make a positive from which they could make a mold, and could I help them sort out their over-molding problem? Yes. Yes, I could. Easy.
I did a couple of quick sketches to see which one they wanted their component to look like, what features we could add or subtract, and they choose the nice rounded one.
Personally, I kind of liked the blocky square and faceted ones. Not my baby though.
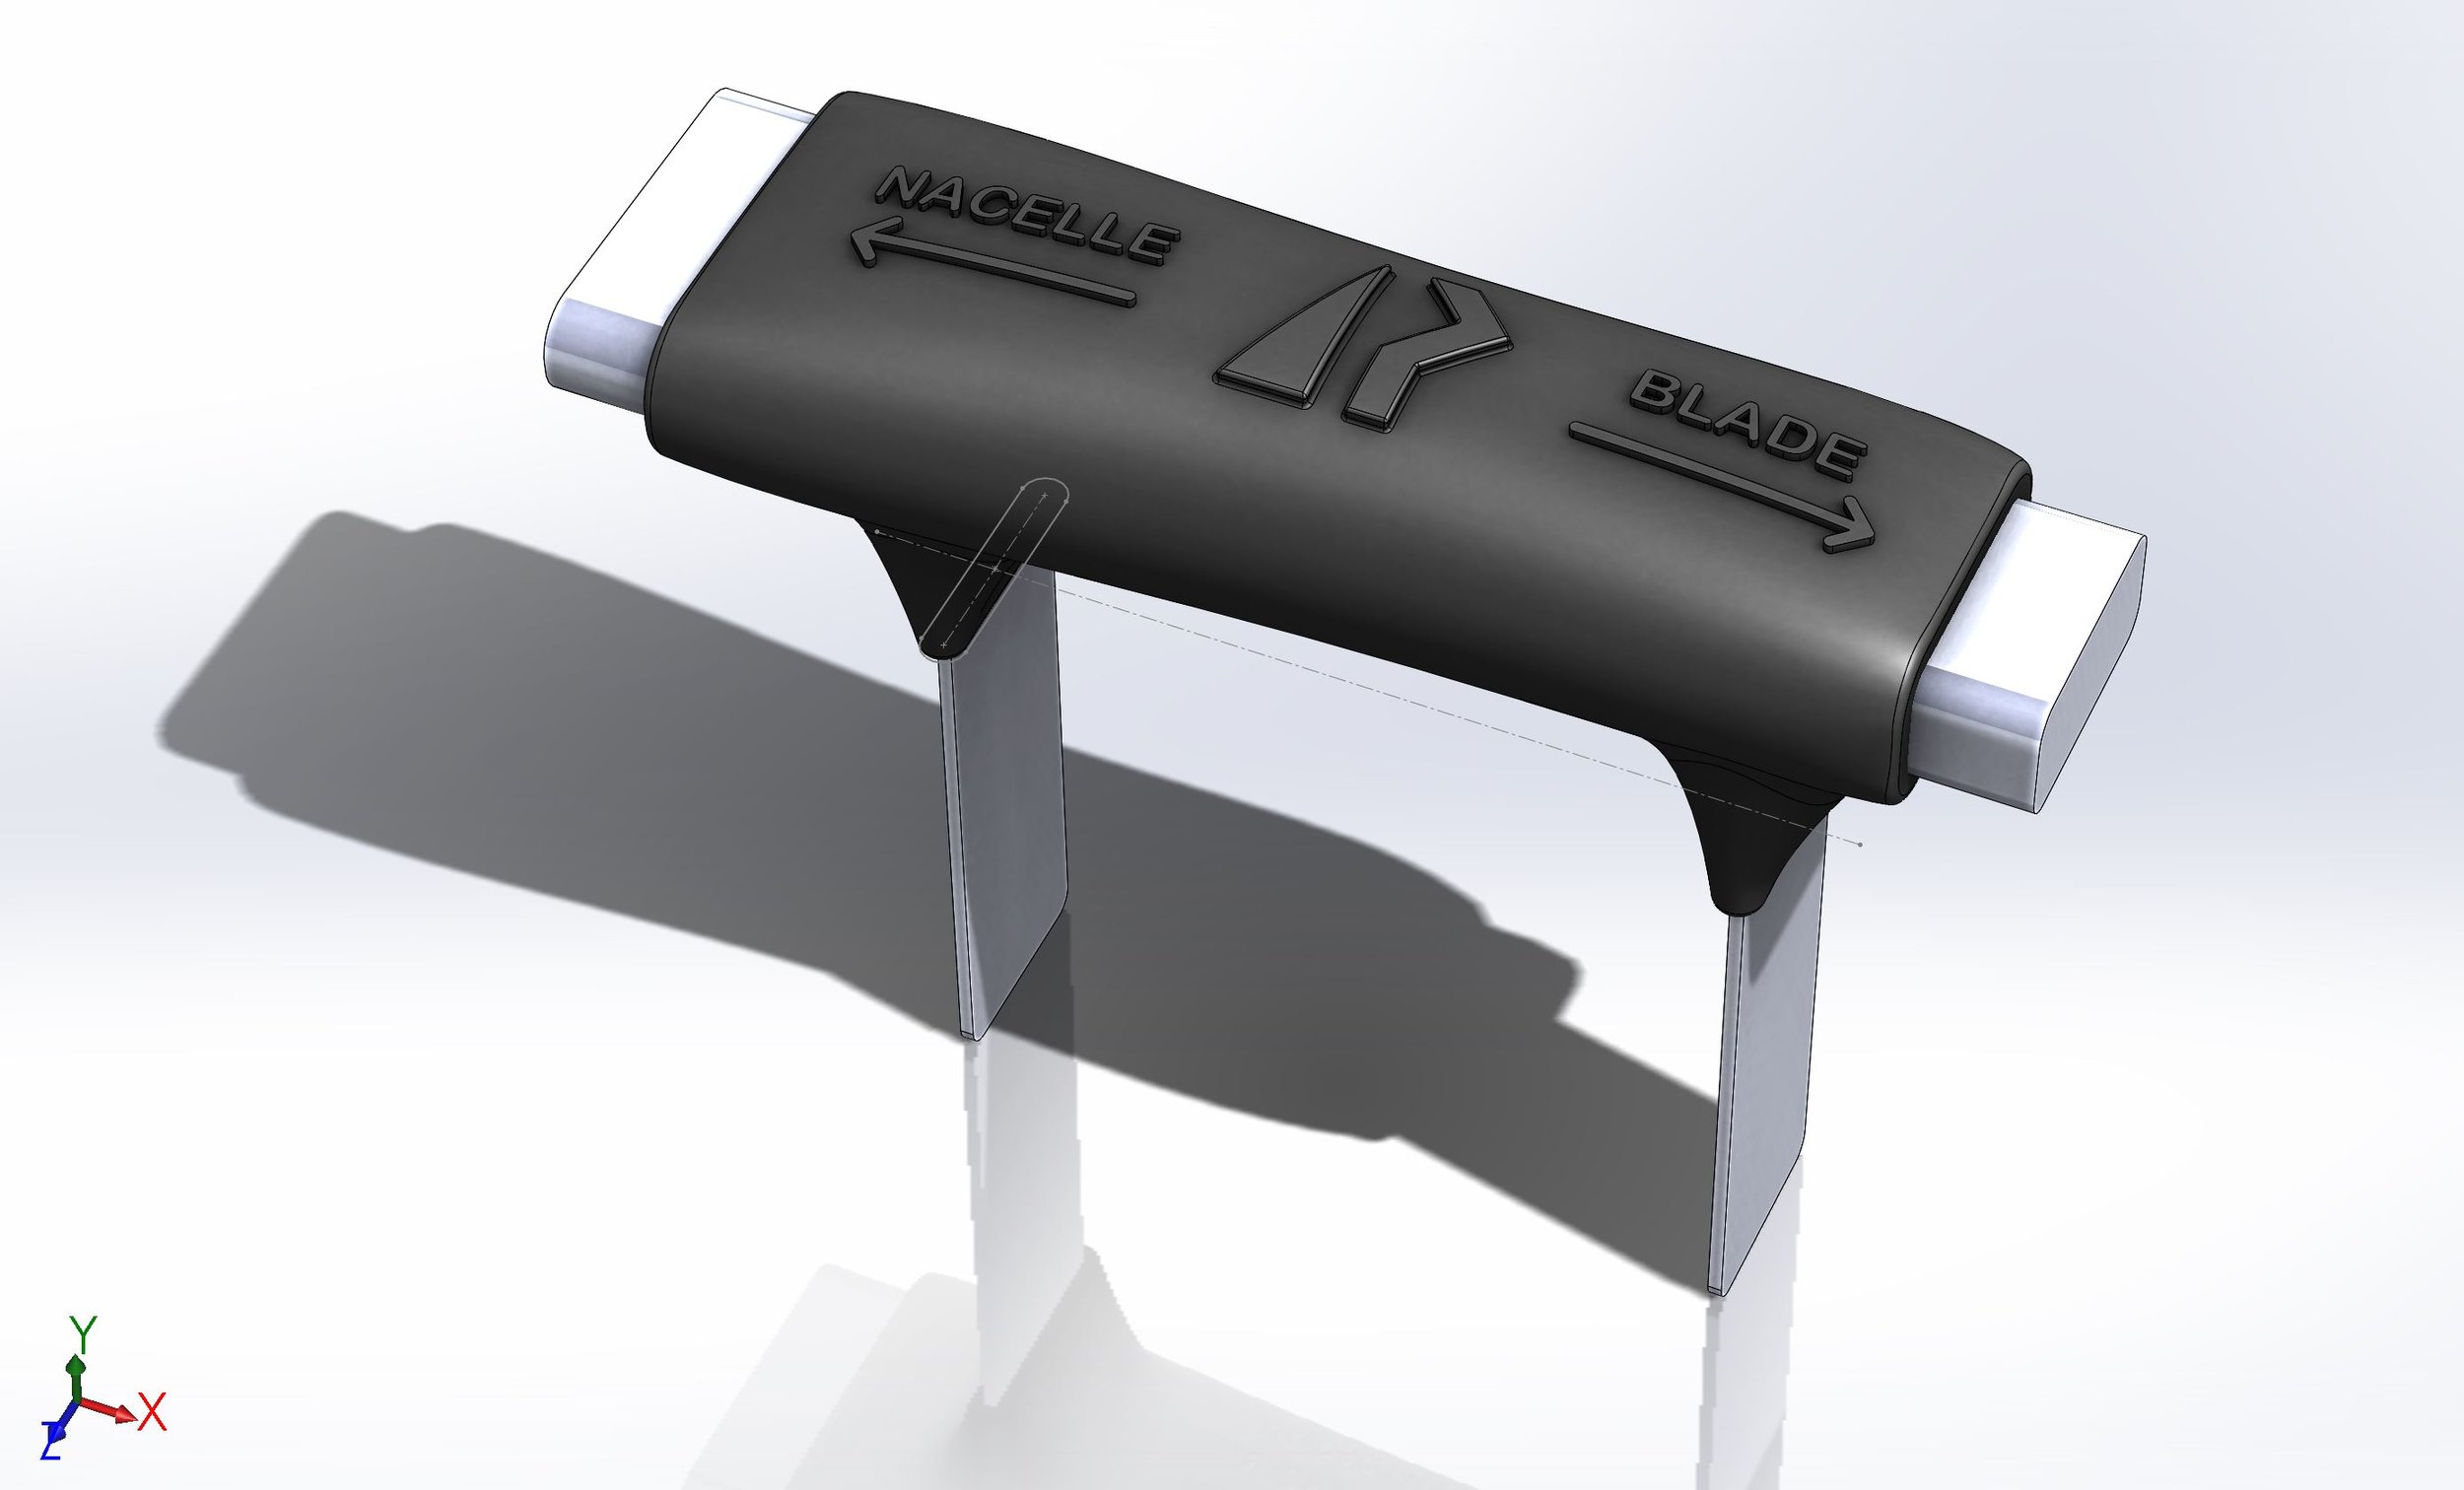
"Store the knowledge in the world", says human factors grand-pappy Donald Norman. In other words, you shouldn't need to read the instruction manual while you're 50m up crawling through the housing of a wind turbine to know intuitively which way to install the thing. That is a design nugget. Nice and grippy too.
With the form chosen I went to work on the CAD. First I measured the assembly as well as I could. I added some variance to give me some more space than needed as I didn't want to make a pattern from which any of the stainless steel components would protrude accidentally.
This was my first version. We decided a bit later that it was maybe a bit too trim and slim.
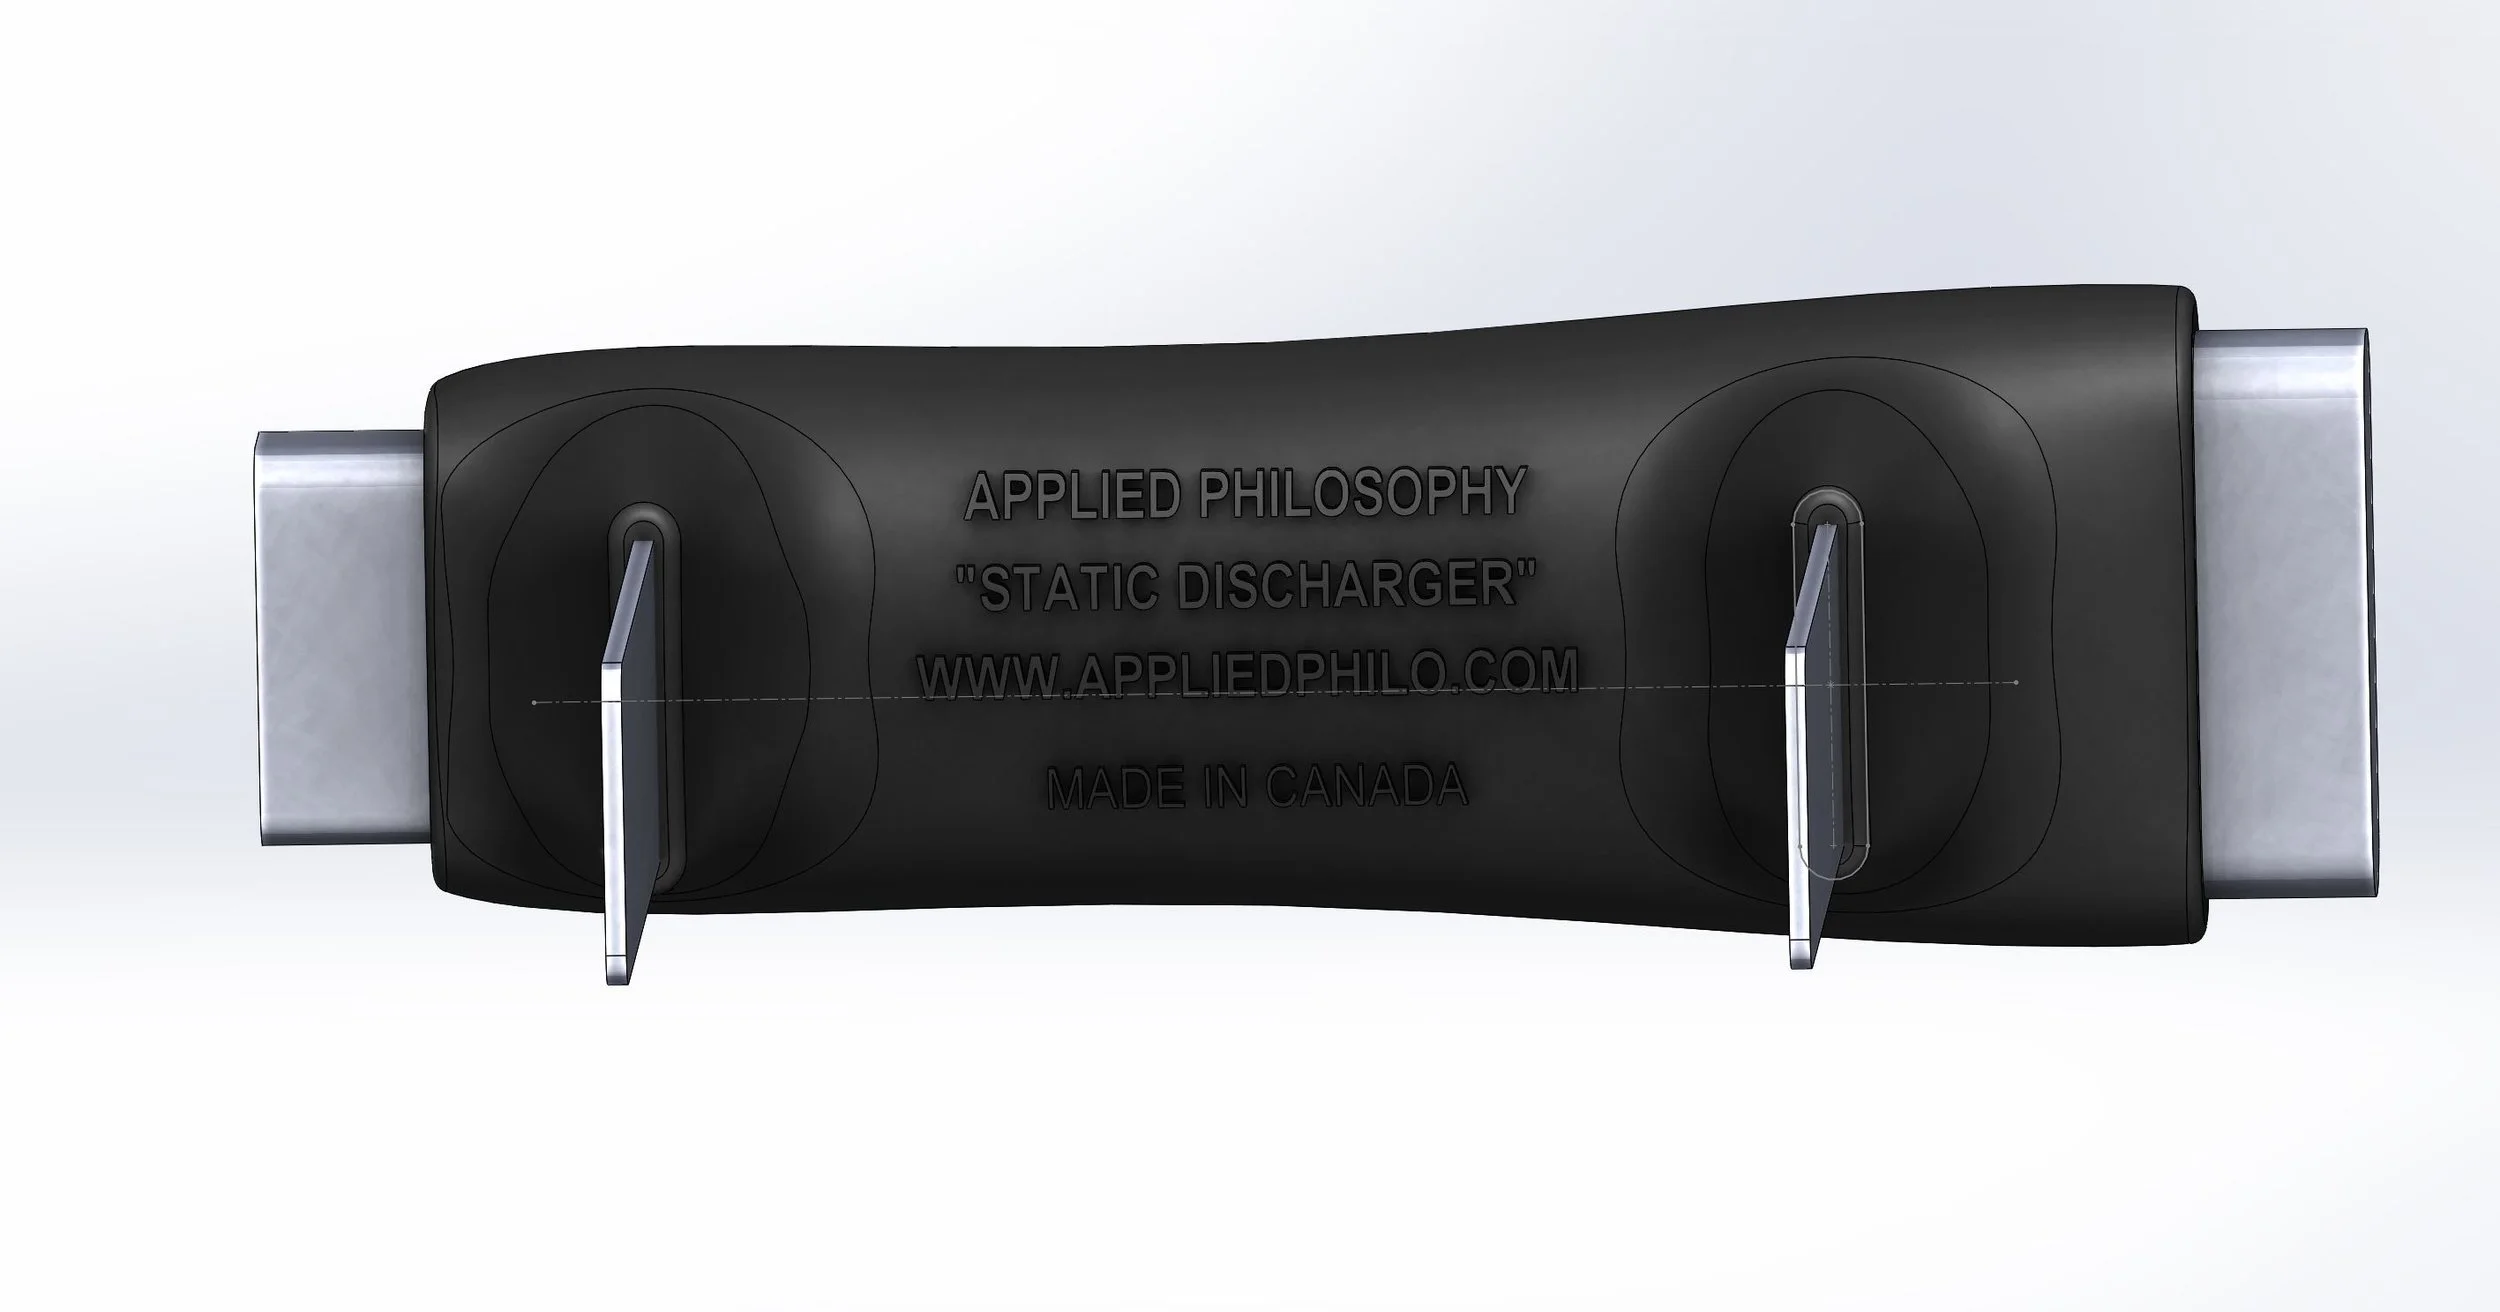
And the bottom view. Look at that: "Made in Canada". Not just Made in Canada, but made in a former factory - now occupied by an amazing array of people just doing their thing - in formerly very industrial east Hamilton.
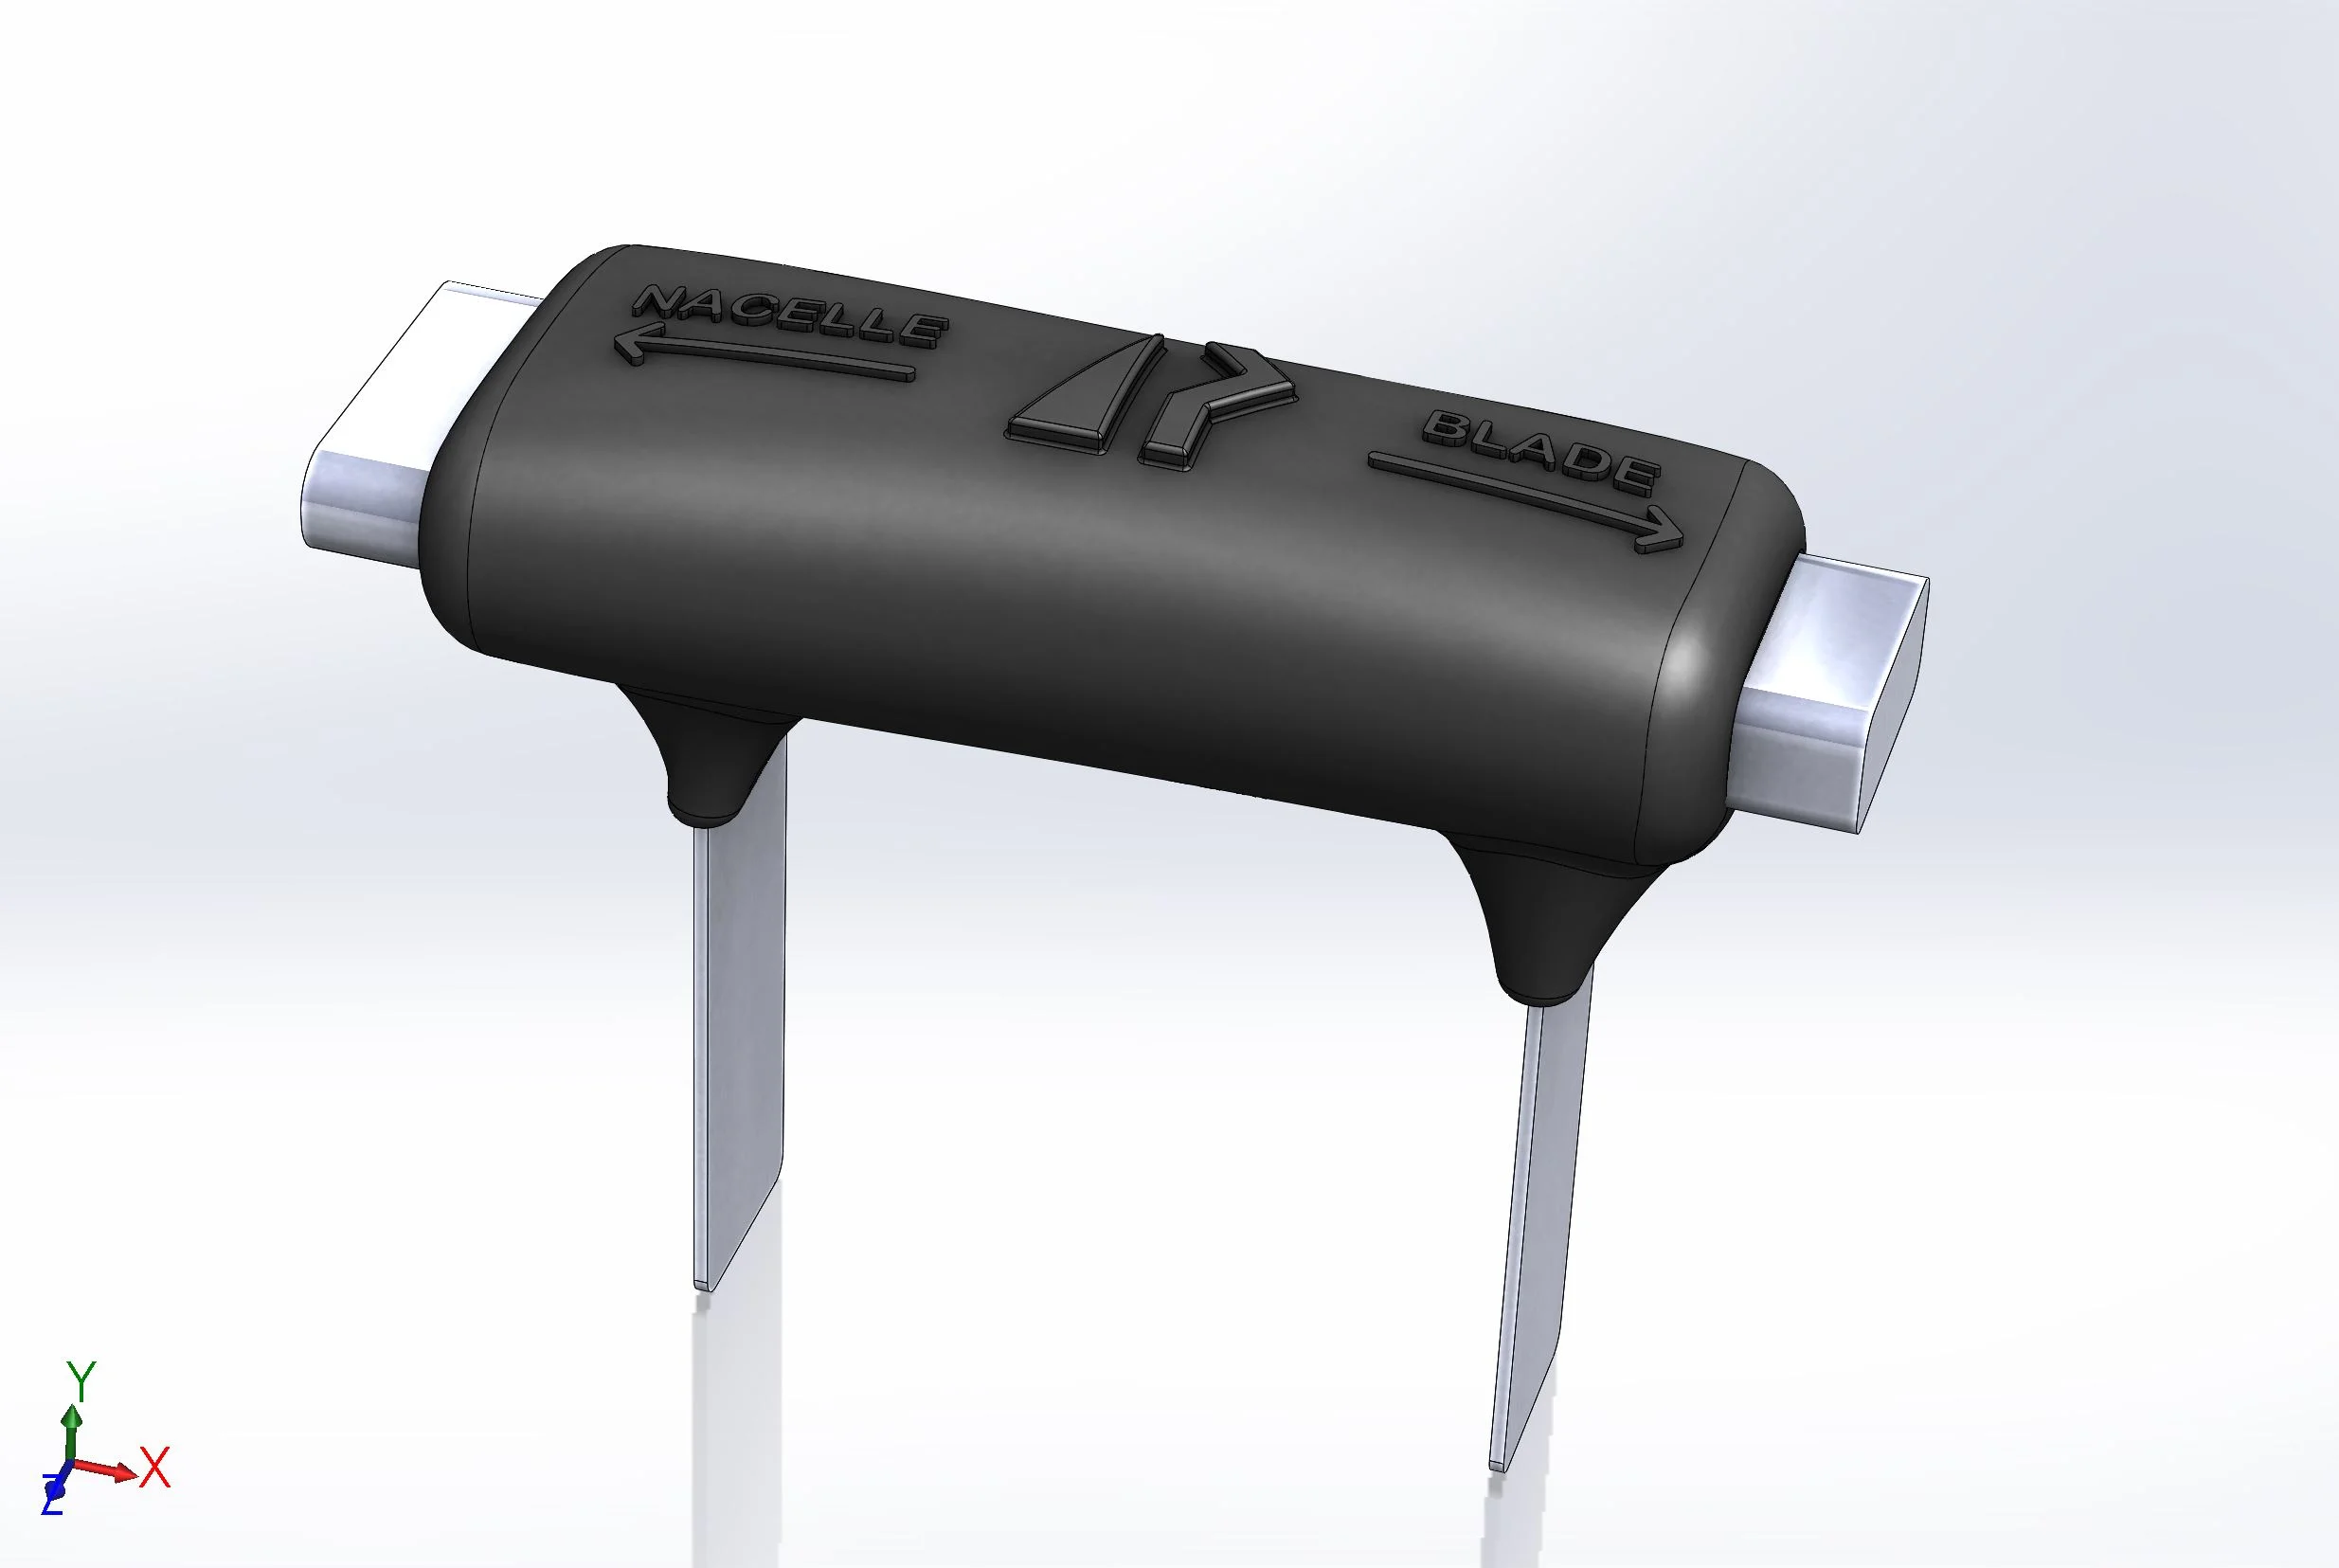
The fatter, longer version 2.0
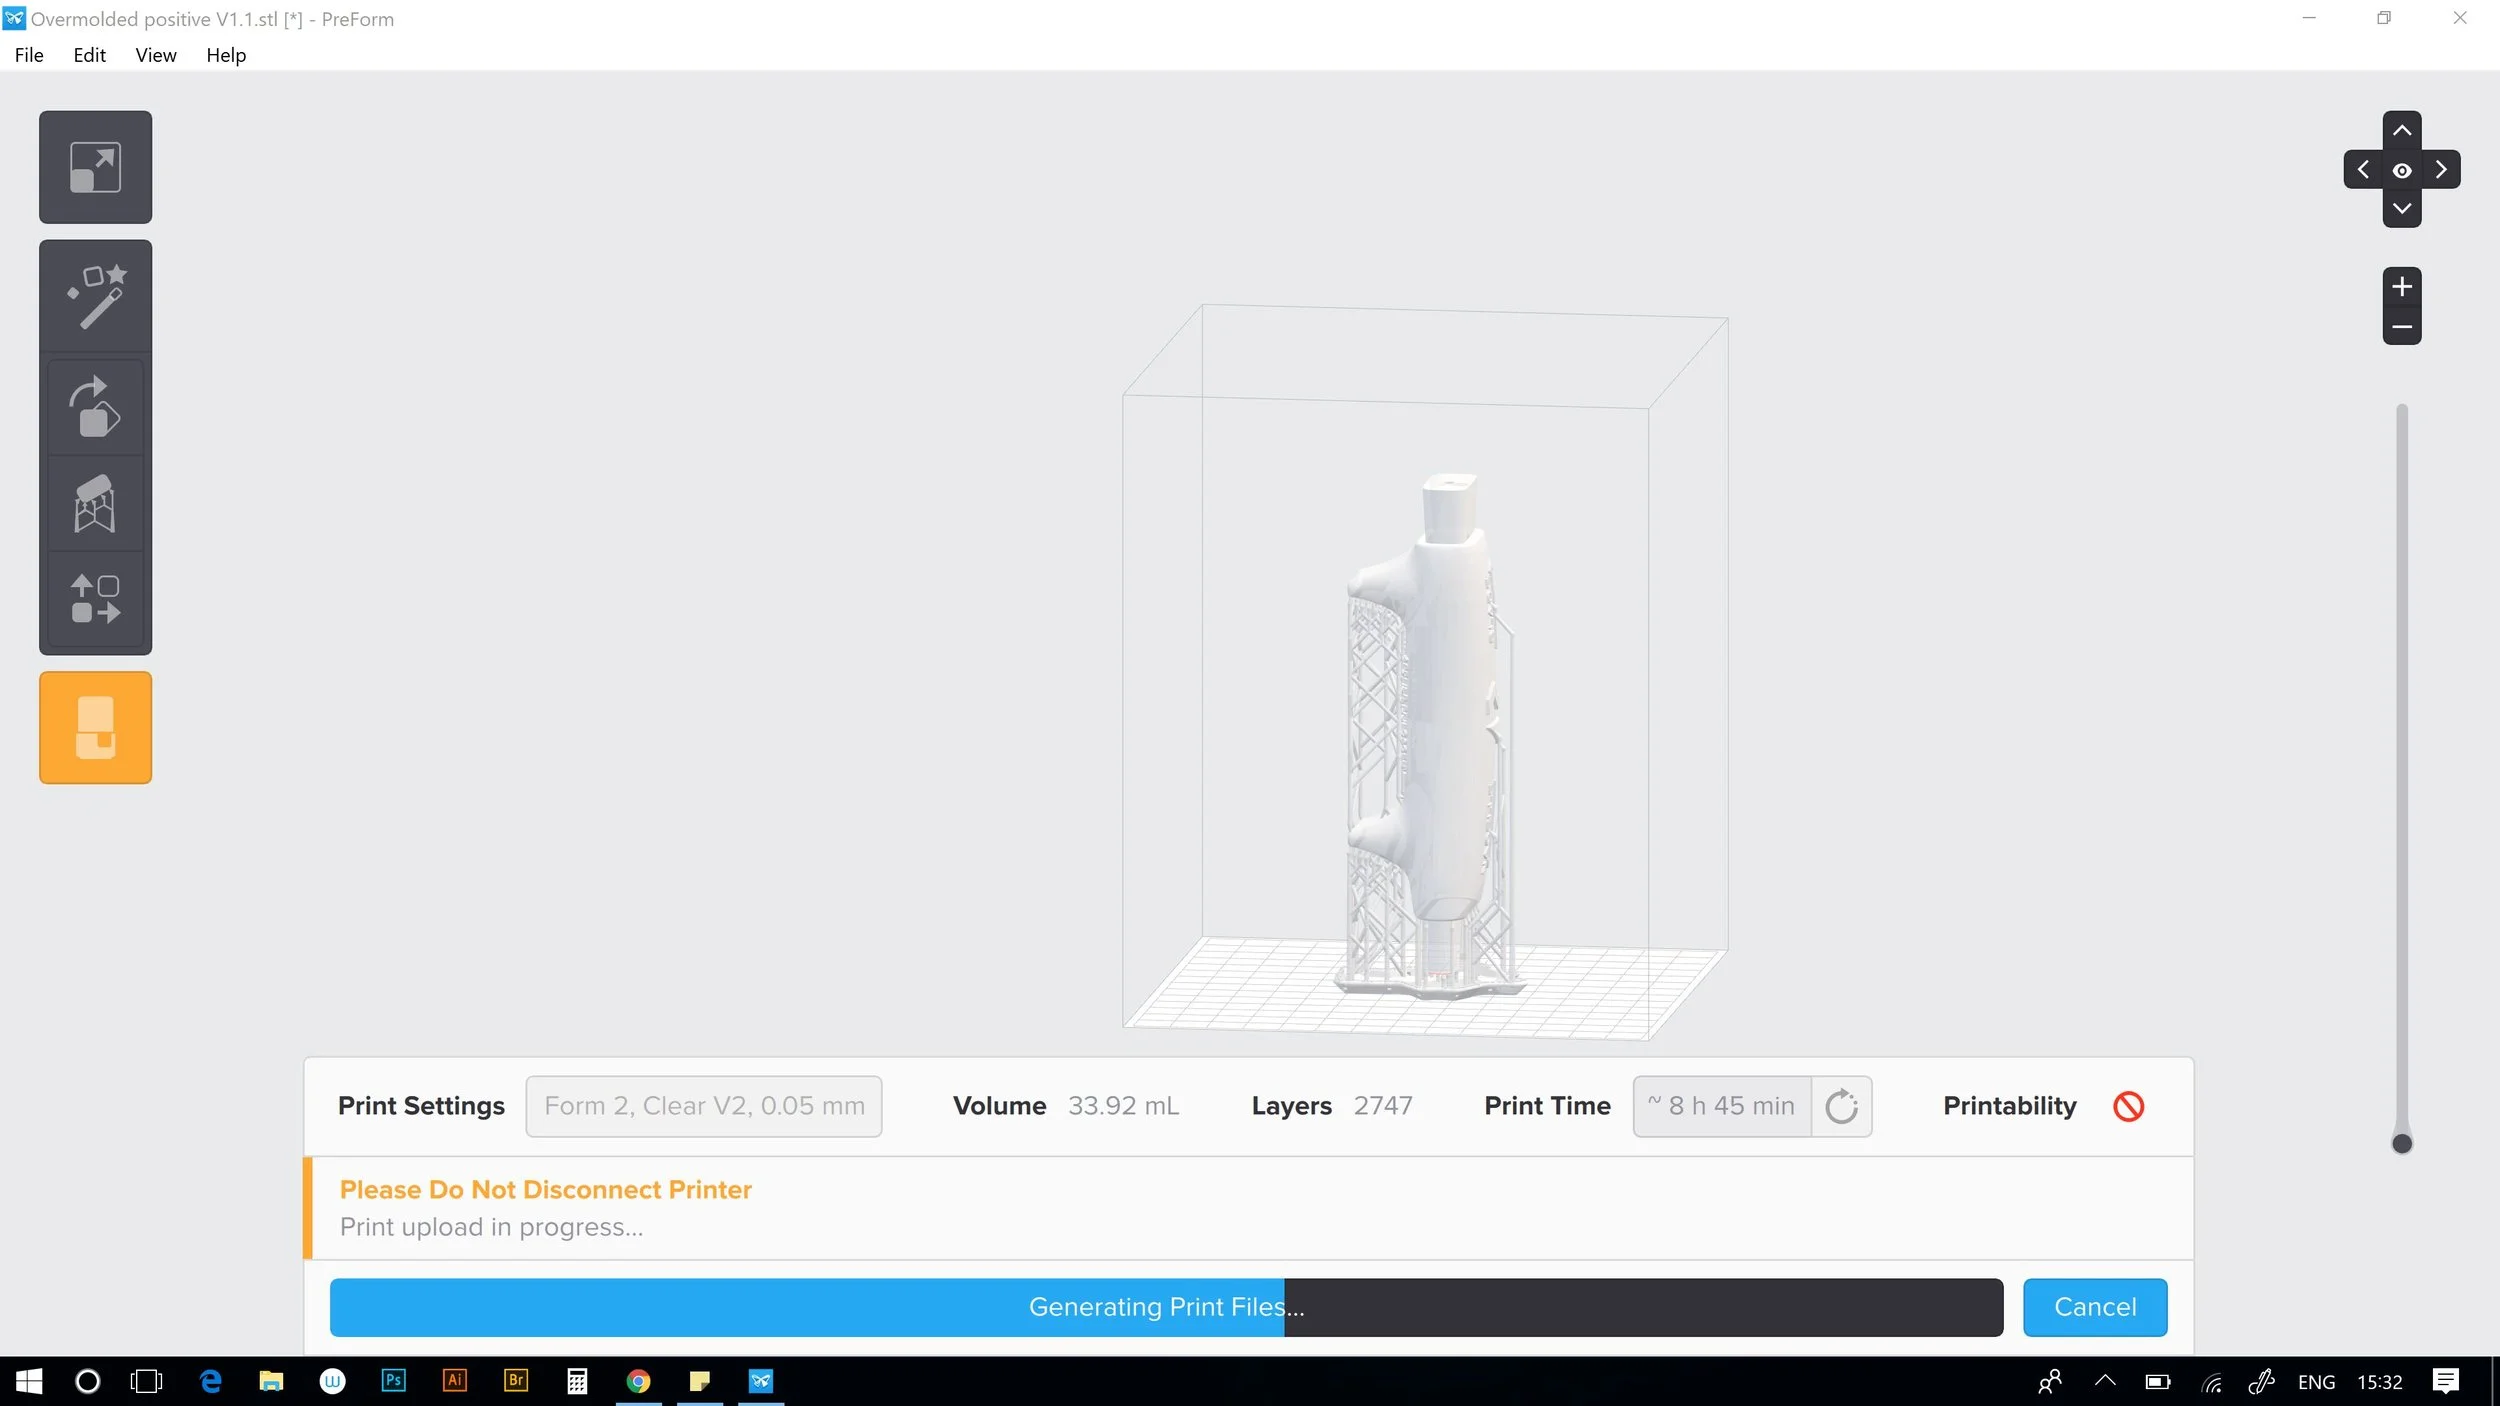
The CAD done, I exported it to my pre printing software, gave it 2mm thickness and made it hollow inside so as to not use $200 worth of 3D printer resin. Then it got sent to the printer and 6 hours later a lovely perfect print came off. We reconvened to see how I had done. Excellent, except neither Joe or myself were convinced that the pattern I had made was big enough to consistently contain all the stainless steel guts. The nice thing about CAD is that, if you plan it right, you just have to go back to some of your original dimensions and change them to change the whole design. Sort of. I wasn't quite that perfect, but I was pretty good. A longer and fatter pattern emerged a little while later. 6 hours after that, the right pattern emerged from the printer.
Sccreen grab of Preform, the set up software for my Formlabs Form2. Love that it automatically generates the intricate support scafolding.
While this was happening, I was thinking of how to make a good reliable and consistent two part mold with which to contain the device and do the over-molding. And, once Joe and Amin had finished trouble shooting a couple of little material and process problems, they came up with the lovely specimen below! I half joke that I do a lot at the kitchen table. Joe and Amin also worked at their kitchen tables. We collaborated because of our shared workspace in a 100 year old, formerly derelict cotton mill that now buzzes with new life. You just never know where things are going to get made and businesses are going to start. I was super happy to help these guys out and it was awesome to be part of a successful Cotton Factory collaboration. Made in Canada, indeed.
The device, including their first rough attempt, and the new 3D printed over-molding patterns on my work bench.
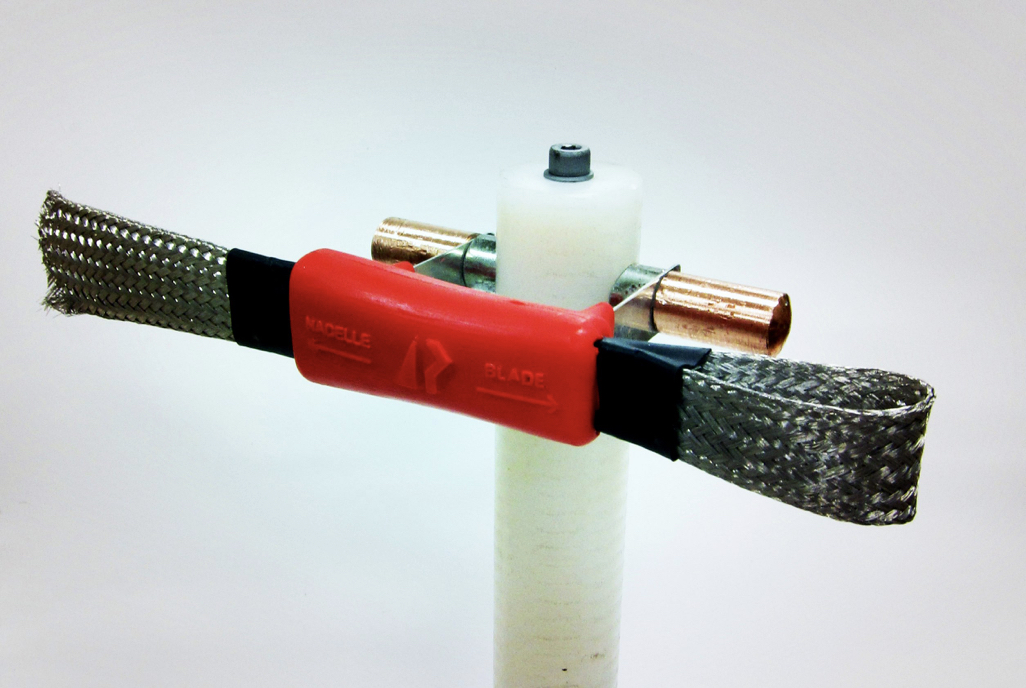
A thing of beauty! Joe sent me this pic of the final device mounted on it's HDPE insulating rod. The whole thing is mounted on the the hub of the turbine and rotates with the blades. The tail at left constantly contacts a grounding surface on the nacelle as the hub rotates; the right side contacts the base of the blade and allows it to turn relative to the hub as the blade changes pitch with different wind speeds. (Do I need to draw a diagram?) Way better than hose clamps and electrical tape.

